Why the Recovery Position is Essential for Saving Lives: How to Perform It (with Video Demo)
The recovery position is a critical first aid technique used to save lives in emergency situations. It involves placing an unconscious or unresponsive person on their side, with their head tilted back and their upper leg bent at the knee to maintain stability. The recovery position helps keep the airway clear, prevents choking, and promotes normal breathing. In this blog post, we will explore why the recovery position is essential for saving lives and how to perform it.
Why is the Recovery Position Essential for Saving Lives?
The recovery position is an essential technique for saving lives because it prevents the tongue from blocking the airway, which can lead to asphyxiation. When a person becomes unconscious or unresponsive, the muscles in their mouth and throat relax, causing the tongue to fall back and block the airway. This can be life-threatening and requires immediate action to prevent further harm.
In addition to preventing asphyxiation, the recovery position can also help prevent aspiration, which is when food or other substances are inhaled into the lungs. Aspiration can cause pneumonia, a serious infection of the lungs, which can lead to respiratory failure and even death.
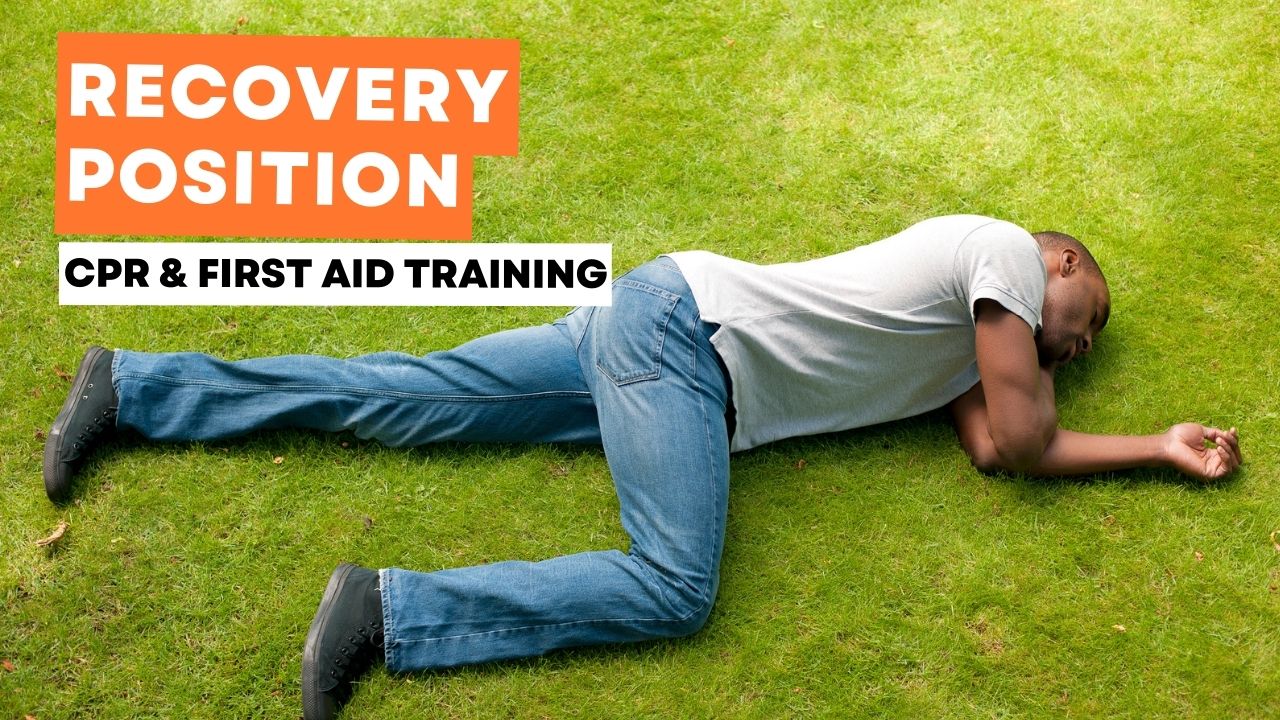
How to Perform the Recovery Position
*This video is a part of the Free Online CPR, AED and First Aid Certificate Training
Performing the recovery position is a simple but crucial technique that can be performed by anyone in an emergency situation. Here is a step-by-step guide on how to perform the recovery position:
- Check for Danger: Before approaching the person, make sure the area is safe for you to do so.
- Assess Responsiveness: Check for responsiveness by gently tapping the person’s shoulder and asking if they are okay.
- Open Airways: If the person is not responding, open the airway by tilting their head back gently while lifting the chin.
- Check for Breathing: Look, listen, and feel for breathing. If there is no breathing, call for emergency medical assistance immediately.
- Position the Person: Roll the person onto their side, with their upper leg bent at the knee to maintain stability.
- Tilt Head Back: Tilt the head back slightly to keep the airway open.
- Support the Head and Neck: Use your hand to support the head and neck to prevent them from twisting.
- Monitor Vital Signs: Monitor the person’s vital signs, including breathing and pulse, while waiting for medical assistance to arrive.
In conclusion, the recovery position is an essential first aid technique that can save lives in emergency situations. It helps keep the airway clear, prevents choking, and promotes normal breathing. By following the steps outlined above, anyone can perform the recovery position and help prevent further harm to an unconscious or unresponsive person. Remember, always call for emergency medical assistance as soon as possible in any emergency situation.
In addition to learning how to perform the recovery position, it is also important to have proper training in CPR, AED, and first aid. These skills can help you respond quickly and effectively in emergency situations, potentially saving lives.
Fortunately, there are many resources available online that offer free training in these areas. One such resource is the American Red Cross, which provides free online courses in CPR, AED, and first aid.
By taking these courses, you can gain the knowledge and skills necessary to respond to emergency situations with confidence and competence. And best of all, you can do it from the comfort of your own home, on your own schedule.


Comments are closed.